Creating a Facebook Author Page in 10 Easy Steps
Sarah Hoggatt
This is the second in a series of posts by Stories To Tell editor and book designer Sarah Hoggatt, an experienced self-published author herself, on how authors can best use social media to promote their books.
Many of us have Facebook profiles where we interact with our friends and family. It’s a great way to share our news, photos, and invitations to events. Did you know you can also create a Facebook “page” to promote your books? Such a page can be invaluable in getting the word out about upcoming publications and events and what’s more, it’s free! To better understand the difference between a personal profile and commercial page, see our blog post Facebook for Authors: Profiles vs. Pages.
To create an author page, follow these easy steps:
1. If you are not already on Facebook, create and fill in the information for a personal account, then click on “Pages” in the left column. On top of the list of pages you’ve liked is a button on the right: “Create a Page.”
2. For authors, you want to click on “Artist, Band, or Public Figure.”

3. Under the drop-down menu: “Choose a category,” select “author” then fill in your name or business. I recommend not creating a page for your book as keeping up the branding of one author page is far easier than a page for each book.

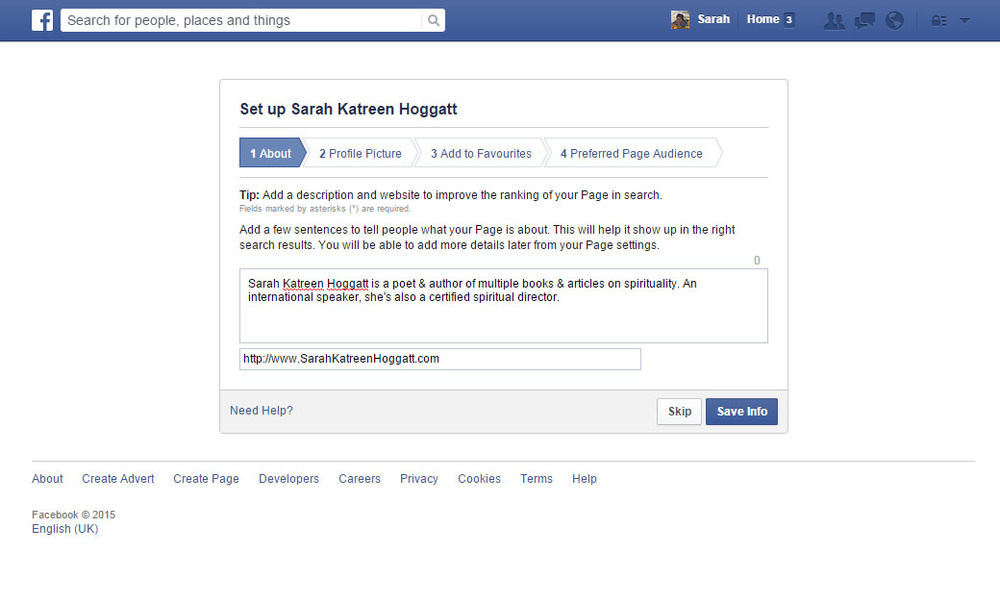
4. Under “About,” enter in your author biography or whatever else you want people to know about you as an author. Unfortunately, you’re limited to 155 characters so make it count. Use keywords people will be searching for. For my own page, I wrote, “Sarah Katreen Hoggatt is a poet & author of multiple books & articles on spirituality. An international speaker, she's also a certified spiritual director.” By using words such as my full name, poet, author, spirituality, international speaker, and spiritual director, my page will come up closer to the top in internet searches. Enter in your website in the box below if you have one.
 5. Under “Profile Picture,” upload your author photo or a professional looking photo of yourself. Don’t use your book cover. Your Facebook page is part of your branding as an author and people are hard-wired to connect with a face. I use the same photo for both my websites and all publicity so my branding is easily recognizable.

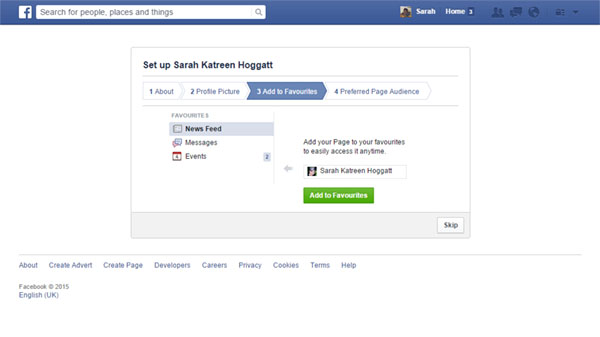
6. Next is adding your new page to your Facebook favorites and I suggest you do it so your page is easily accessible when you log onto Facebook.
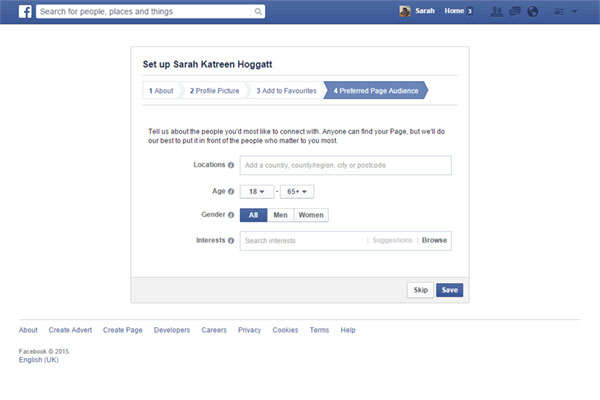
 7. Under “Preferred Page Audience,” think about those you’re trying to reach. For myself, I’m going to enter my local zip code so potential spiritual direction clients know I’m in their area. Under age, I’m going to enter in 13-65+ as I know teenagers read my book as well as adults. For gender, I want “All.” If you write mostly for men or women, you may want to select your preferred audience.
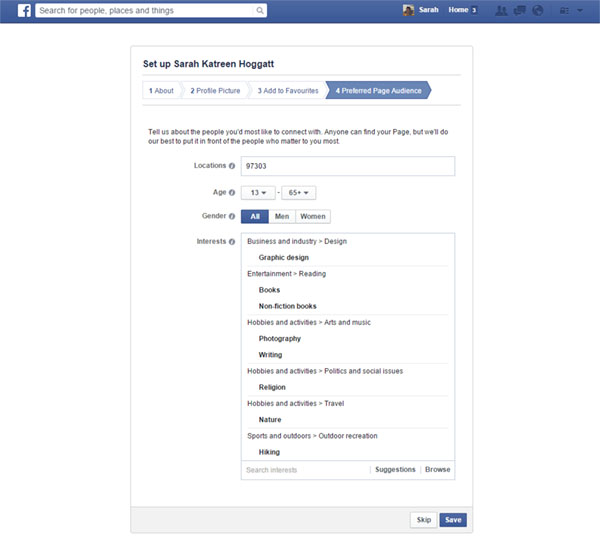
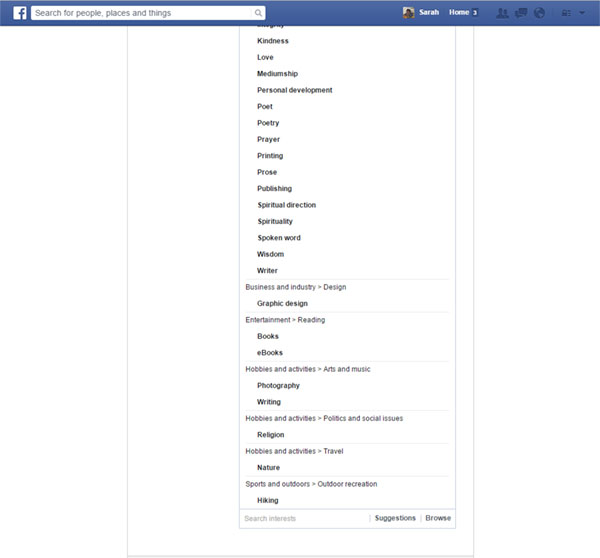
 8. Under special interests, I searched for keywords and selected words such as graphic design, books, non-fiction books, photography, writing, religion, nature, and hiking, among others. In addition to my writing and spiritual direction practice, I also love photographing nature and designing books as well as writing them so I’ll want to post about those things as well as it’s a way for people to connect with me on a personal basis, not just as an author. I will also want to post my thoughts on spirituality both to keep with the themes of the books and also for any spiritual directees who “like” the page.
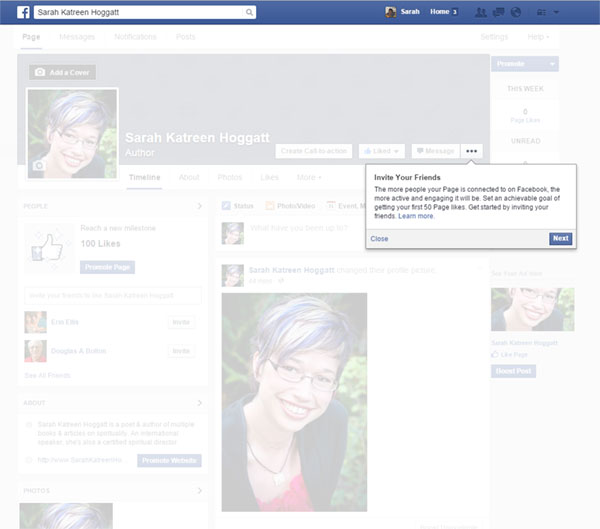
9. Once you’ve saved your work, it will create your page and suggest you “like” it.
10. Facebook will then suggest you invite your friends to “like” it too. You can do that now or you can wait until you have some content on your page. I’m going to wait on doing this as I want people to have a better idea of what the page will be about before they “like” it.
Look for our next article to get ideas of what to post on your page!